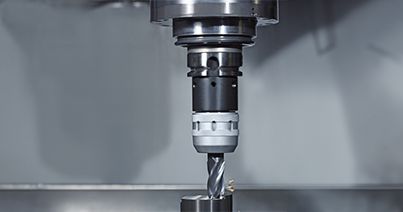
Buying Guide: The Basics of Boring

Boring Bar Basics & Anti-Vibration Strategies

October 20, 2022

by Kennametal Metal Cutting Pros

It's a well-known statistic that holemaking comprises the lion's share of machining operations. And while holes are sometimes completed using a drill bit and nothing more, many require a boring or reaming operation to meet straightness, surface finish, and diametral tolerance requirements.

If it gets the job done, the latter of these—reaming—should always be the first choice for hole finishing, as it’s much faster and easier than boring. Reamers tend to "follow the hole" though, whereas boring bars cut a straight hole regardless of drill walk. It's for this reason that reaming is more effective when using solid carbide drills, which produce a straighter, rounder hole than those made using high-speed steel (HSS) or cobalt drill bits, and do so far more quickly.

If boring is indeed required, never fear. Given the proper cutting tool and use of sound machining practices, boring is easily mastered. Keep reading.

What is Boring?

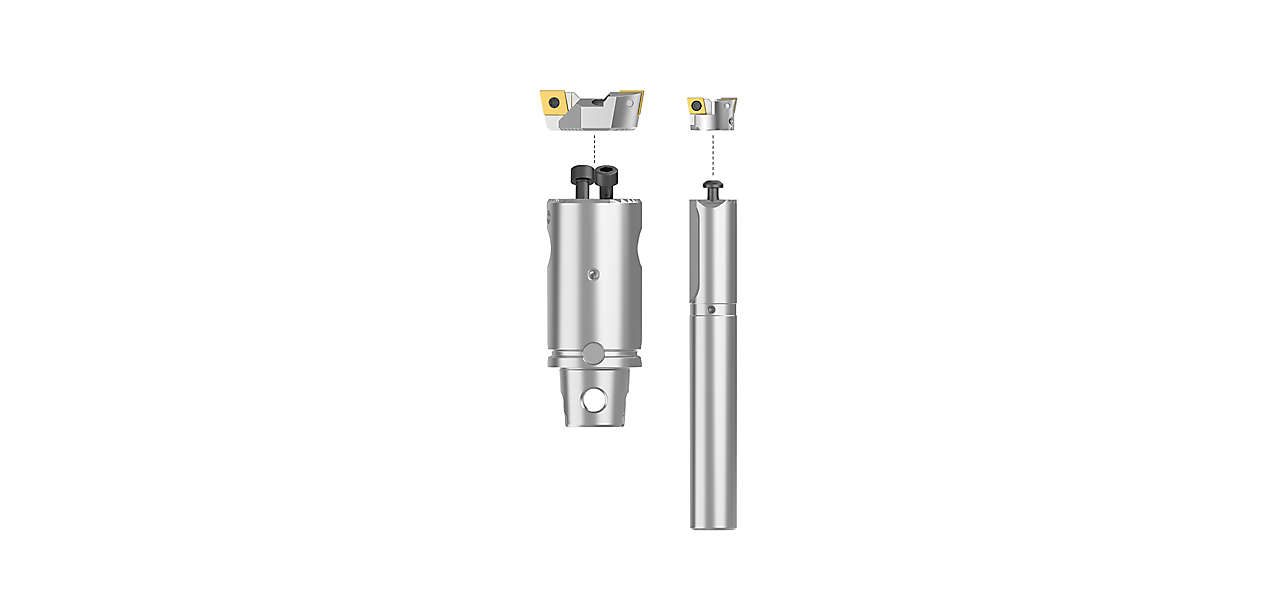
Quite simply, boring can be thought of as internal turning. Many in the industry stubbornly continue to call it that. It uses a single-point cutting tool called a boring bar to remove material, or sometimes a dual-headed boring arrangement that supports higher metal removal rates and (sometimes) roughing and finishing in a single pass.

Machinists contend with two types of boring—one done on a lathe, the other on a machining center. Of course, there's also the boring performed in specialty jig boring machines, but these are a dying breed as CNC machining centers grow more and more accurate.

It might seem that one boring operation is much like any other, but that is a false assumption. The tooling, machining parameters, and metal removal approach vary significantly based on the workpiece material, desired tolerance, hole depth and diameter, and other factors that can make boring either relatively straightforward or exceedingly difficult.

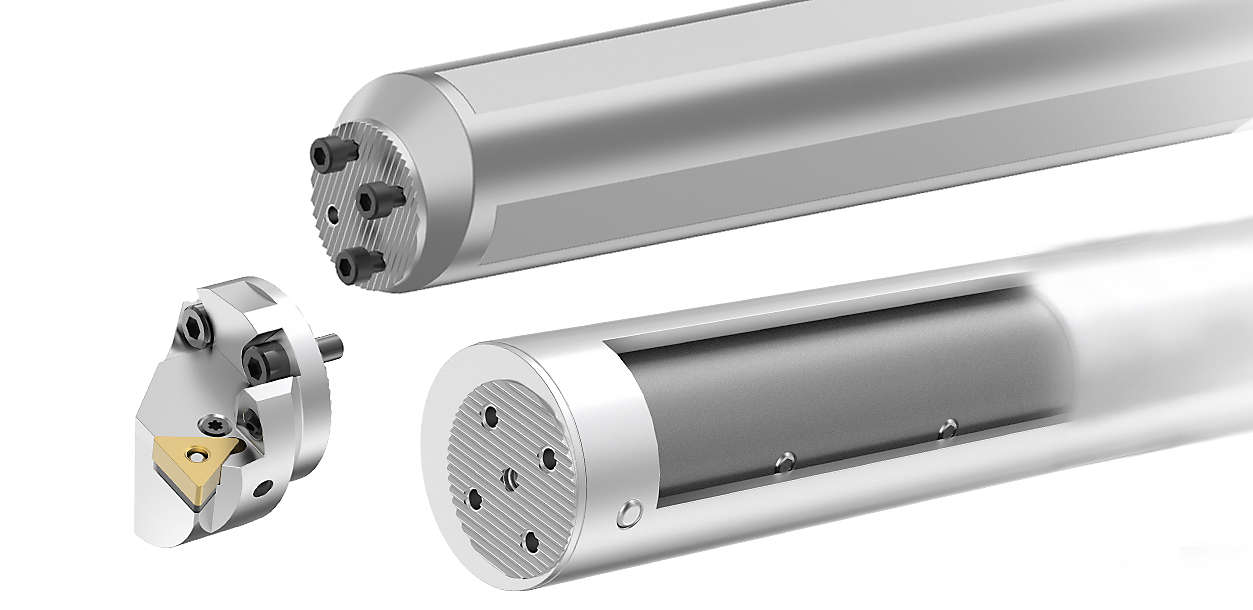
Kennametal Modular Boring Bars are designed to work out of the box to provide process stability, increase the stiffness of the bar, & dampen out chatter.

Why Does Chatter Occur?

Chief among these difficulties is vibration or “chatter," a noisy, harmonic-generated event that leads to poor tool life and unacceptable surface finish. Think of it as the cutting tool bouncing against the workpiece. The most common cause of chatter is an overly long boring bar, although depending on the workpiece requirements, this is often unavoidable. Fortunately, there are some techniques that machinists can use to mitigate chatter, no matter how deep the hole.

How much to extend the tool from its holder is a matter of great scientific discussion, one filled with complex formulae that consider tangential cutting force, the bar's modulus of elasticity and moment of inertia, and similarly mind-numbing criteria. And while these calculations might provide valuable insight, a few rules of thumb are probably more expedient.

For starters, steel shank boring bars are good up to three times the tool diameter or so (abbreviated as 3 x D), more with soft materials like aluminum and brass. Bars with heavy metal or carbide shanks can extend up to 6 x D without too much difficulty, although minimal stick-out is preferred in any machining application and boring is no exception. Modular tools with internal damping mechanisms—Kennametal calls them vibration-free boring bars—can easily achieve 10 x D or more. Sometimes far more.

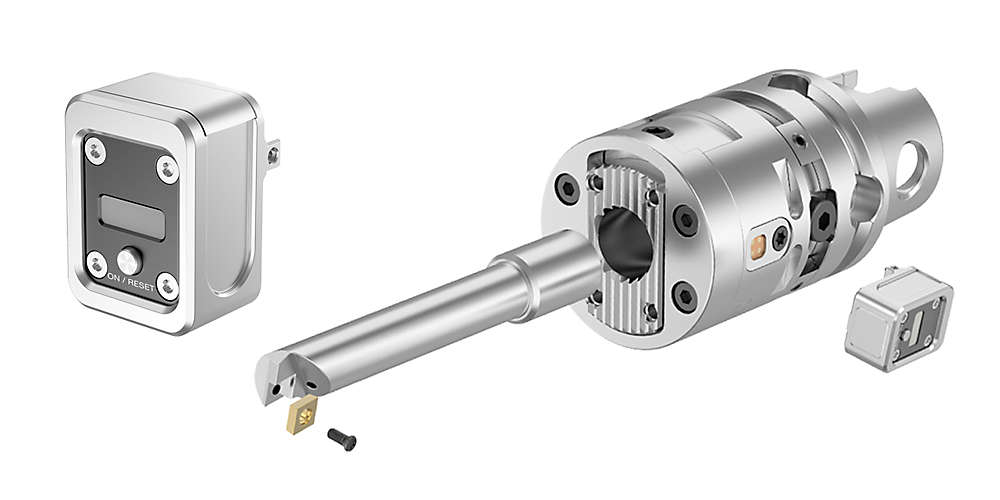
The digital display on Kennametal’s eBore™ Fine Boring system eliminates the guesswork in boring operations.

Boring on CNC Lathes vs. Machining Centers

Whether boring on a CNC lathe or machining center, everything just outlined about materials and stick-out lengths holds true. What’s different is the method of holding the boring tool. In a lathe, the boring bar is stationary and gripped in a tool block the same as any other round shank tool. Diameter and depth adjustments are made on the CNC control using tool offsets, and the boring tool is programmed to remove material using sequential passes, just as with external turning tools.

A machining center, on the other hand, requires a boring head to hold the bar. Here, the entire mechanism spins, removing material as it goes until reaching the bottom of the hole, at which point the spindle stops rotating and the tool is retracted. There are no sequential passes and any diametral adjustments are made on the head itself, which requires stopping the machine.

It also requires that the operator turn a vernier dial on the head, oftentimes guessing how much adjustment is needed and whether she needs to compensate for any backlash in the device. Newer boring tools such as Kennametal’s eBore Digital Fine Boring System are changing this paradigm, as are other "smart" boring systems.

Twin cutters like these remove material twice as fast as single-point boring heads, and can sometimes be used to rough and finish in the same pass.

Troubleshooting Boring Operations

As suggested earlier, a variety of factors determine whether a boring operation is predictable and productive. Unfortunately, this can make boring seem like a black art, but it’s really not. By following the guidelines provided so far, boring shouldn’t be more difficult than any other type of machining. And when trouble does arise (as in chatter or problems with tool life and hole accuracy), here are a few tips to get things back on track.

  • Play with the feeds and speeds. Try reducing the cutting speed, increasing the feedrate, or vice-versa. But be scientific about it. Adjust one variable at a time and only by a small amount—say 10% either way—and then document the results. If they were poor, put the value back and try a different one. Continue optimizing in this manner until you obtain the desired results. 
  • Another variable is depth of cut (DOC). For a finishing pass, a good starting point is a DOC equal to or greater than the tool nose radius (TNR). If this is too heavy, try using a smaller nose radius. For rough boring, taking lighter cuts (say several times the nose radius) at slightly higher feedrates is usually preferable to “hogging” passes. Again, play around until you find the right balance of cutting forces, chip control, and vibration dampening. 
  • Is the part secure? If it's hanging a long way out of the chuck or not adequately gripped in the vise, chatter will rear its noisy head. Tubing and other thin-walled workpieces can also be problematic. If conditions permit, try taking a heavier DOC on the finishing pass, or bury the part deeper in the workholding device.
  • We already noted the importance of minimizing boring bar stick-out, but equally important is how much of the bar you should be hanging on to—shoot for at least 4x the bar diameter, more if possible. Also, avoid clamping the bar with set screws. A sleeve or collet that wraps completely around the shank will provide a more secure grip.
  • It only makes sense to use the largest boring bar for the hole, as this will create the least deflection. However, there must be room for effective chip evacuation. If not, chip packing ahead of the cutting zone is a near certainty, leading to disastrous results. With this comes the need for generous application of cutting fluids, preferably using high-pressure coolant (HPC).
  • Some CNC machine tools offer a feature known as spindle speed variation, or SSV, which as its name implies, dynamically varies the spindle speed according to a set of predefined parameters. For example, machines from Haas Automation have two options—M38/M38 and M138/M139—that adjust the RPM based on machine settings or program variables respectively. Either can be effective against chatter.

Finally, boring bar alignment is critical. The tooltip should sit perfectly on the hole centerline or perhaps a ‘thou or two above center to allow for deflection. Most bars have a flat ground on the top that simplifies this process, but what happens if the machine is out of alignment or you’re gripping the bar with a sleeve as suggested a few bullet points ago?

Several solutions are available. For CNC lathes, a digital alignment tool (Wixey brand is one) works well on larger bars. With smaller tools or when you want to go old school, clamp and face off a piece of bar stock, paint some Dykem bluing fluid on the end, and then use the machine's manual pulse generator to scribe a line across the face with the boring bar tip. This will provide a measurable indication of the bar’s alignment. On CNC machining centers, the process is even easier—just use an offline tool presetter (assuming your shop has one) or optical comparator to set the tool on center. Either way, accurate and productive boring is within reach. 
Related Articles

You are about to add to your My Solutions page. Do you want to proceed?
product-image
Please adjust the following properties from

ISO Catalog Number

ANSI Catalog Number

to find similar products.

The following files are available

Please select a file to download

Models

You should be logged to see your dashboard information
Session expired due to inactivity, please login again
The product/s () you were trying to add to the cart is/are not available, please contact customer service
item(s) successfully added to the cart
View Cart

. Please enter the desired qty for the material(s) you want to include in your promotion or Proceed Without Promotion and only your base materials will be added to the cart.

Minimum quantity should be

SAP Material Number ISO Catalog Number Grade    

Thank you for your registration, pending approval & completion of the registration, your access is currently limited. Full utilization of product search capabilities & collaboration space is available and will remain. Please allow 2 business days for registration completion.

Thank you for your successful registration. You now have immediate access to log in and utilize the site.

You are about to leave the Solution building process.

Are you sure you want to leave?