Here are some practical reaming tips to help you avoid common challenges and achieve better results in your operations:
1. Ensure Proper Pre-Drilled Hole Size
For optimal reaming results, it’s critical to leave enough material for the reamer to cut.
As a rule of thumb for holes:
- < 1/4" = .010"
- ¼" to ½" = .015"
- ½" to 1-1/2" = .025"
Leaving too little material may cause the reamer to rub instead of cut, leading to poor surface finish and tool wear.
2. Avoid Chatter by Adjusting Feed and Speed Rates
Chatter is a common cause of poor finish and tool life. To minimize chatter:
- Feed Rates should be 200-300% higher than for drilling.
- Cutting Speeds should be about two-thirds of those used for drilling.
- Keep the rigidity of the setup high by minimizing overhang and ensuring secure toolholding.
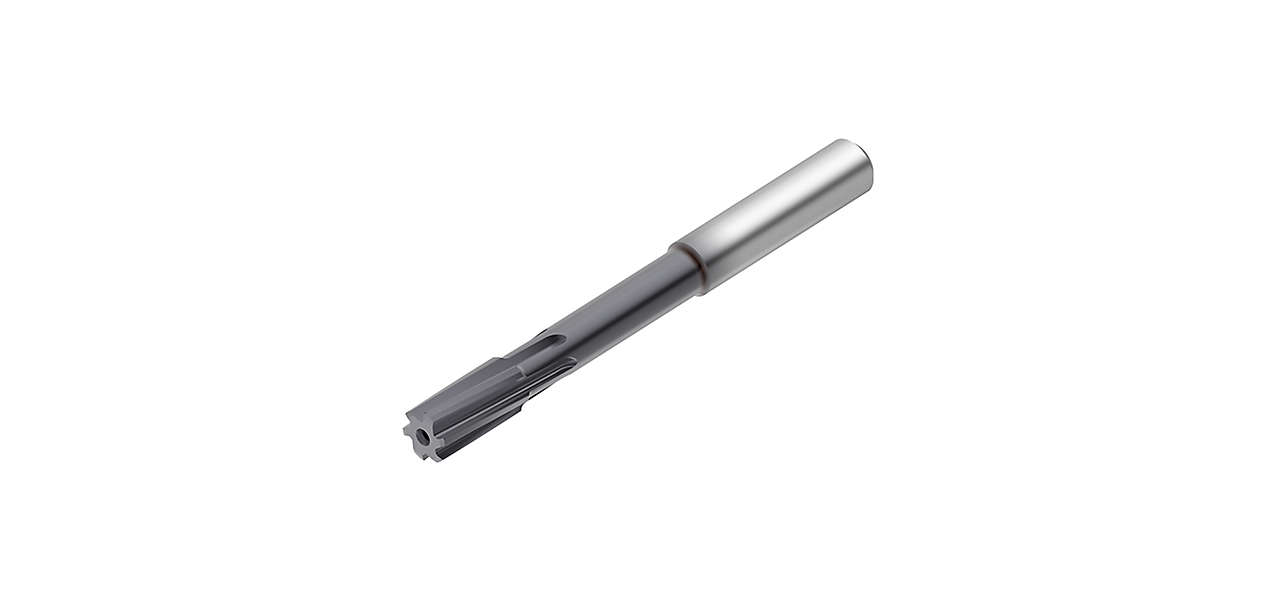
3. Choosing the Right Flute Style
Select the proper reamer flute style for the material and hole type:
- Straight-flute: General-purpose for through holes.
- Right-hand spiral (RHS): Best for blind or deep holes, especially in free-cutting materials like aluminum.
- Left-hand spiral (LHS): Ideal for through holes in steels and irons, helps reduce chatter by pushing chips forward.
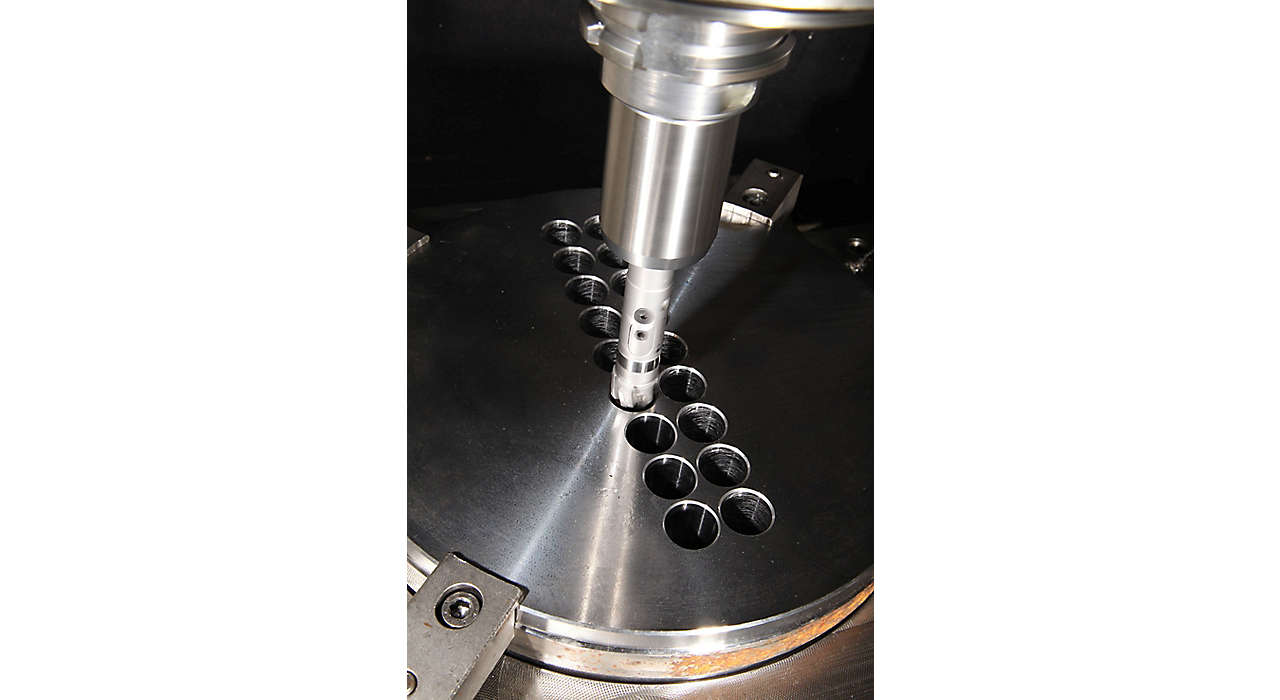
4. Avoid Tool Breakage by Managing Toolholder Runout
To prevent excessive tool wear or breakage, use high-quality toolholders, such as collet chucks, shrink-fit, or hydraulic toolholders for minimal runout.
If misalignment is a concern, a floating tool holder will allow the reamer to go its own way, but for the best results, ensure the tool is properly aligned.
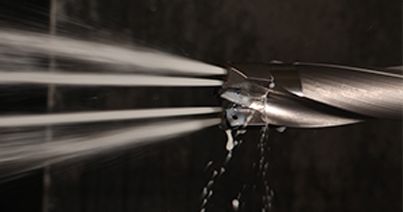
5. Lubrication and Coolant Use
Always use clean, well-maintained cutting fluid. For those with through-tool coolant capabilities, use it to enhance tool life and performance. High-pressure coolant (HPC) can make a significant difference in reaming success, especially in harder materials.